Documents
Tutorial: Documents
Follow the guide below to learn more about adding, editing and viewing documents on the GLOBE website.
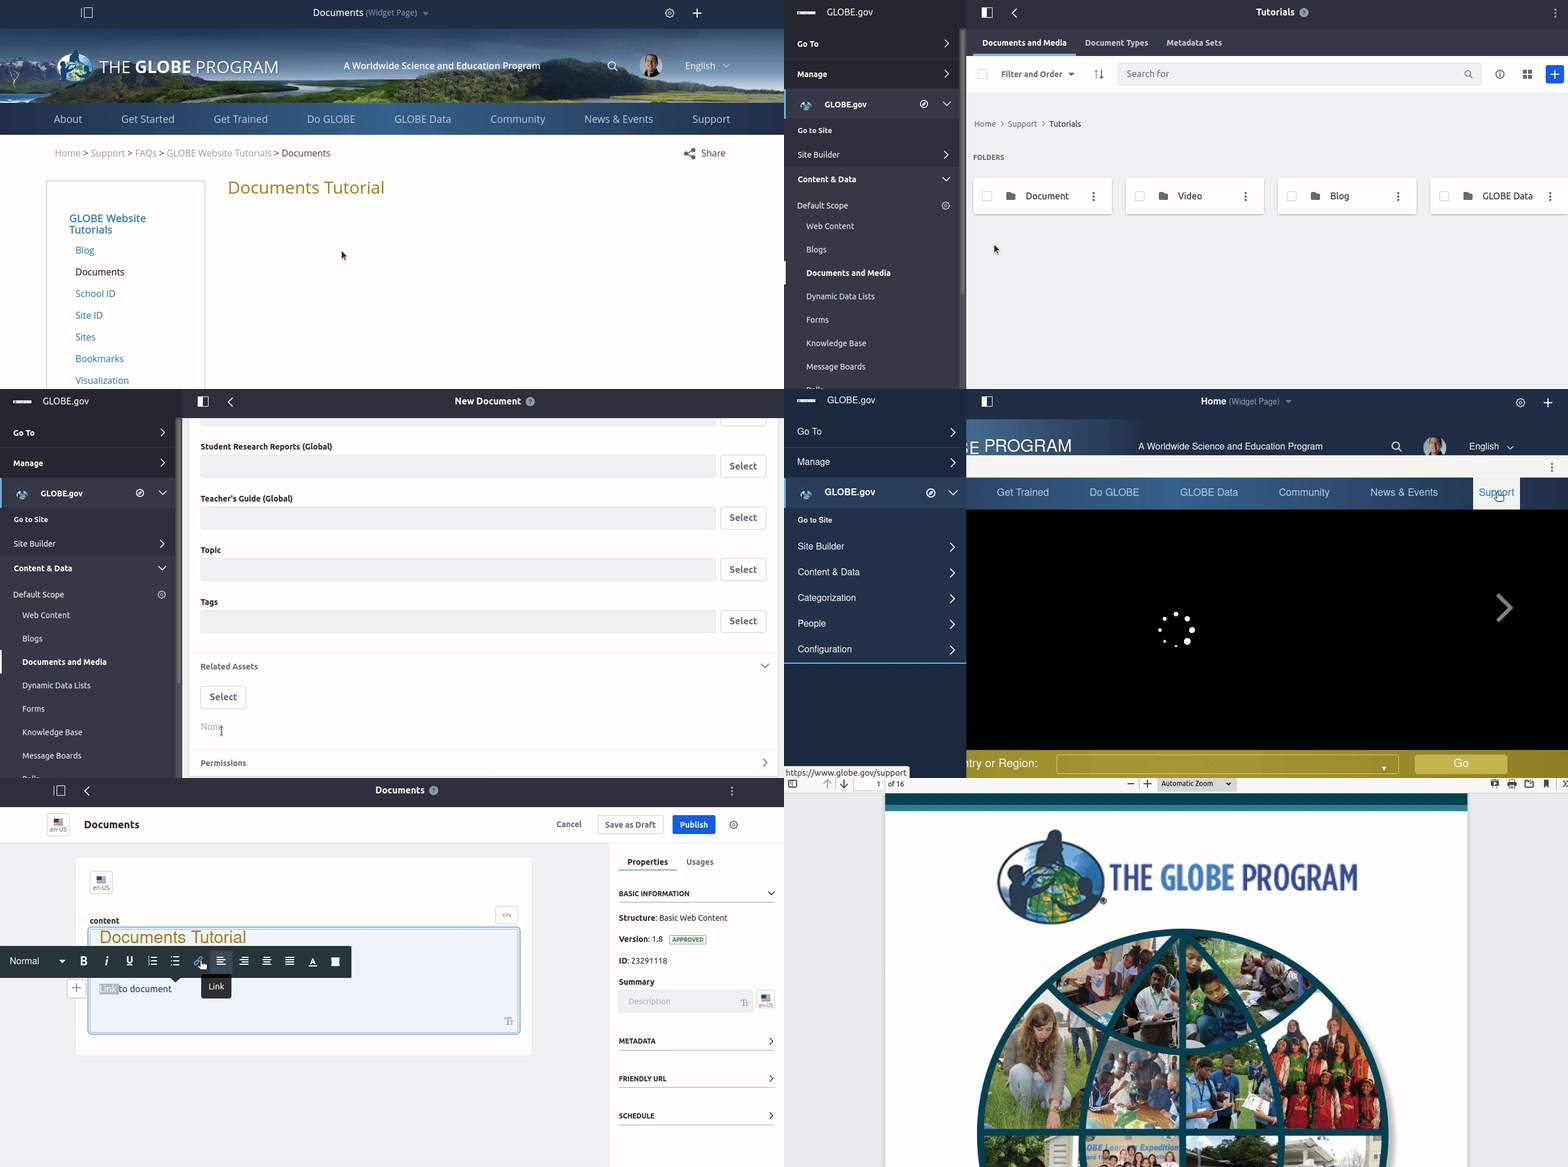
Add a Document to the GLOBE Site
- On the GLOBE website, at the top left of the page, select the Menu icon
- In the menu, select "Content & Data"
- Select "Documents and Media"
- Create or select a folder you want to add the document to
- To upload a new document, in the folder, at the top right, select the "+" icon
- Select "File Upload"
- On the document upload screen, select "Browse..." to find the document you want to upload. Alternatively, you can drag and drop your document directly onto the "Browse..." button.
- Select "Publish"
Add a Link to Your Document Within Your Web Content
You can add a link to your document in two different ways:
To manually add a link
- On the Documents and Media page, find your uploaded document
- To the right of your document, select the menu icon
- Select "Details"
- At the top right, next to the "Download" button, select the Info button
- Copy the "Latest Version URL"
- View the page you want to add a link to
- On the piece of web content you want to edit, at the top right, select the blue menu icon
- Select "Edit Web Content"
- Add in your link text or highlight the piece of text you want to convert into a link
- Select the Link button
- Paste the copied link to your document
- Select the checkmark
To auto-fill a link with the content editor
- On the piece of web content you want to edit, at the top right, select the blue menu icon
- Select "Edit Web Content"
- Add in your link text or highlight the piece of text you want to convert into a link
- Select the Link button
- Select the Browse button
- Find and select your document
- At the bottom right, select "Add"


